Quick start
Five minutes from install to your first fixes.
1. Run your first scan
- Go to AcceGuru -> Dashboard.
- Choose which post statuses to include (Published is on by default).
- Click Run Full Site Scan.
- Keep the tab open while it runs. Results fill in live.
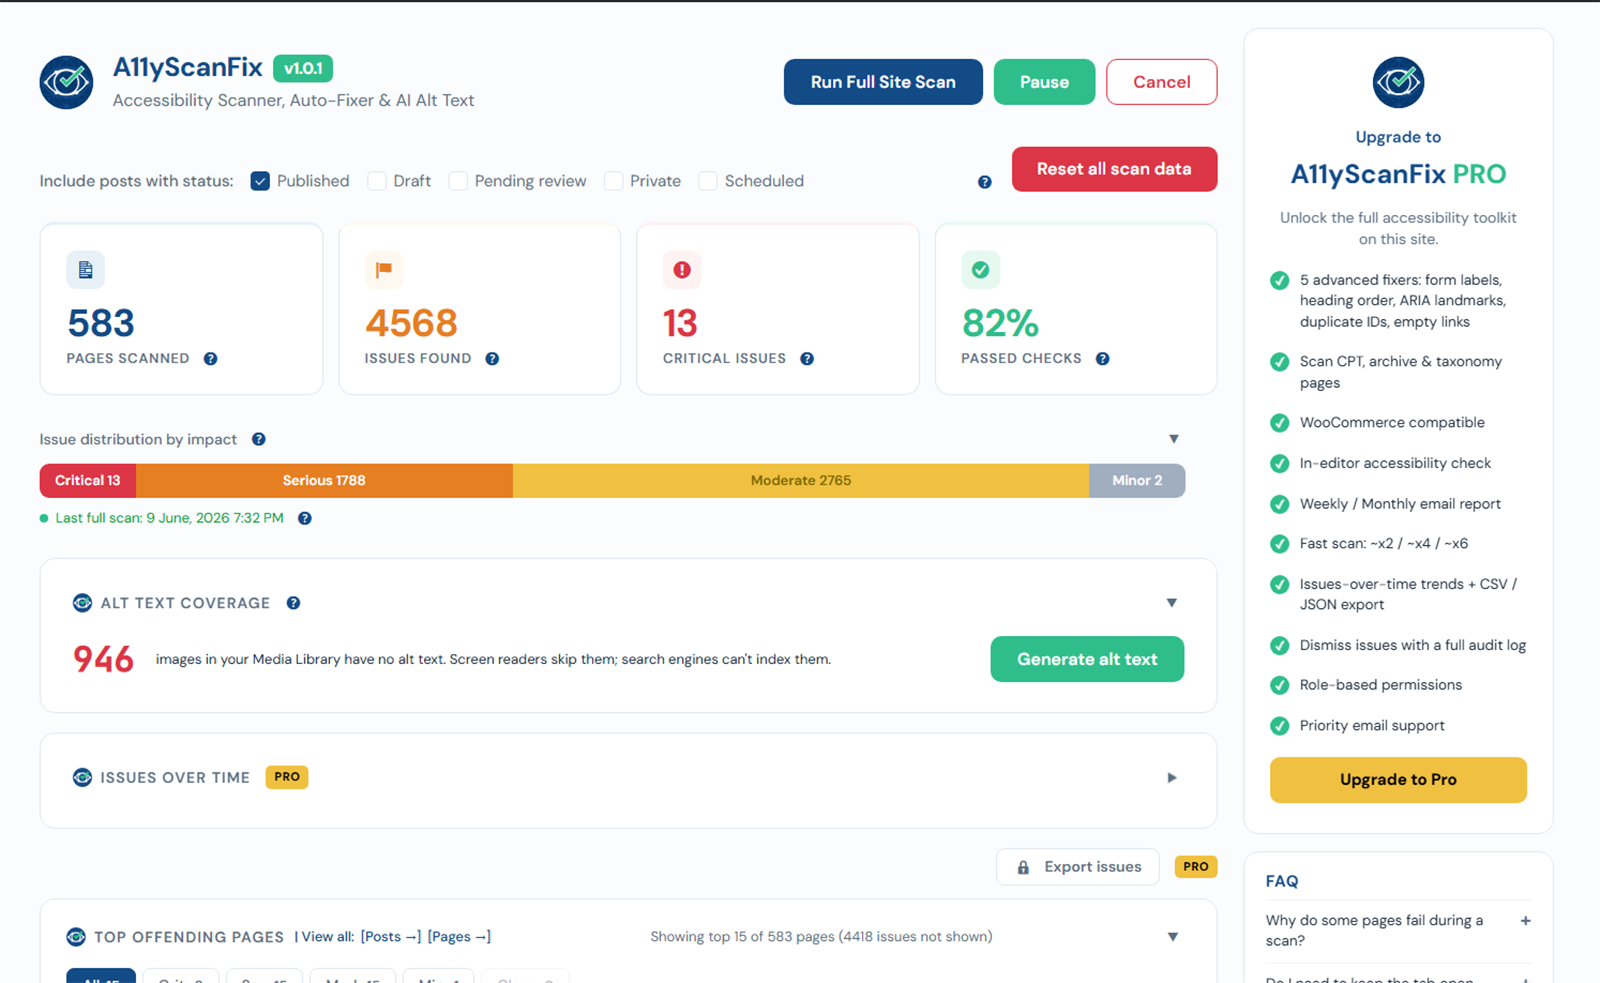
2. Review the results
The five cards show Pages Scanned, Issues Found, Critical Issues, Passed Checks, and Manual Checks. A second row of cards opens Top Offending Pages and Most Common Issues, which show where to start. See Dashboard overview.
3. Turn on fixers
- Go to AcceGuru -> Settings -> Fixers.
- Nine low-impact fixes are already on after a new install. Turn on any others you want.
- Save. Fixes apply on the front end immediately and are fully reversible.
See Fixers overview.
4. Set up AI alt text
- Go to AcceGuru -> Settings -> AI Alt Text.
- Choose a provider and paste your own API key.
- Optionally turn on Auto-generate alt text on upload.
- Use Bulk generate to fill alt text for existing images.
See AI alt text.
5. Publish an accessibility statement
Generate a statement page and link it in your footer. See Accessibility statement.